Utility Trailer Plans Info

Have you had enough of looking for utility trailer plans online? Good, you came to the right place then. If you are looking for easy to build, easy to follow, and easy to afford sets of utility trailer plans plus over an hour of video, keep reading.

Do you really feel like spending $1300 for a utility trailer you could have built for $600 less? Why not just build your own and save hundreds of dollars and have the ability to customize it the way you intend to use it. This is one of the best, cheapest, and easiest welding projects you can do. When you get done just reading through the plans and watching the video, you will know exactly how to build a utility trailer. There is a pretty good chance that you already have the tools as well as the skills to build one. Now you just need a good set of utility trailer plans to go with them.

Both sets of utility trailer plans was designed and created in the same easy to follow, easy to master, way that all my other plans are designed. Here is my website for car rotisserie plans if you want to see how nice they are as well. If you run a search for utility trailer plans on Google, you will see for yourself that no other website’s plans have 32 pages (per set of plans) of information to give you. You will be lucky to get 5 pages with all of the information crammed together making it hard to read and follow. Not to mention having to basically be an engineer just to understand them. That is surely not the case with these sets of plans. I designed them based on common sense and in an easy to follow way that anyone can understand. Besides, where else are you going to find 2 sets of utility trailer plans plus a “how to” video for only $12.95?

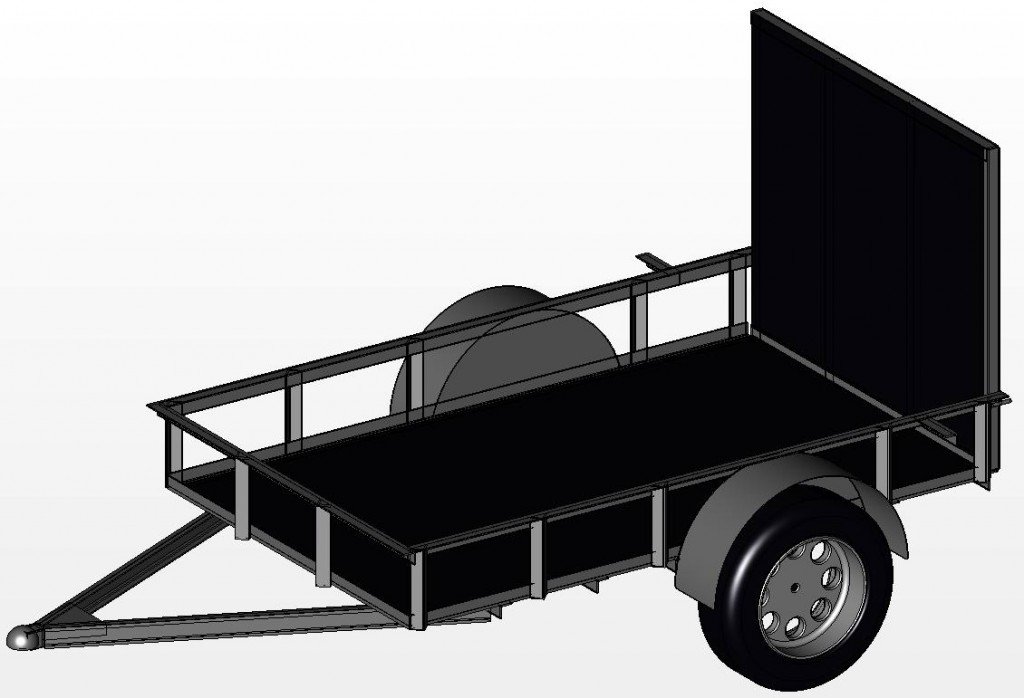
The trailer that you will build is a 5′ x 8′ or 6′ x 10′ utility trailer with a hinged tailgate, full side rails, heavy duty frame and hitch, as well as a heavy duty axle. The trailer plans leave plenty of room for customization. Once you get rolling on this project, you will see for yourself how easy the design changes and customization can be. Even if you decide to follow the trailer dimensions and design to the letter, you will have a very nice and solid utility trailer when you are finished. The plans also come with a complete material list as well as a full cut list so there won’t be any second guessing when you need material.

For $12.95 you can instantly download both sets of utility trailer plans and get full access to over an hours worth of video to your own computer. The plans come in a PDF file so they can easily be printed out if you wish. After payment is made you will automatically be able to access both PDF files from a link sent to you in an automatic email. In that same email you will get a link to my private page that hosts the step by step video. You can pay by credit card through PayPal or if you wish, you can send a check or money order.


All you need to do to purchase both sets of plans + video is, click on

the Add To Cart button[wp_eStore:product_id:1:end] and your shopping cart will pop up on the right side of the screen. If you have any questions you can feel free to contact me directly.

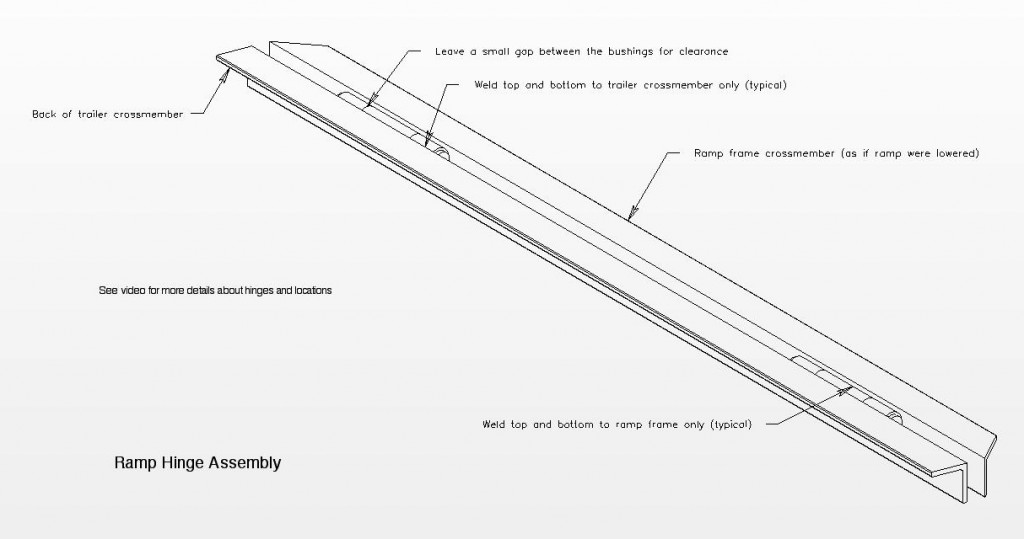
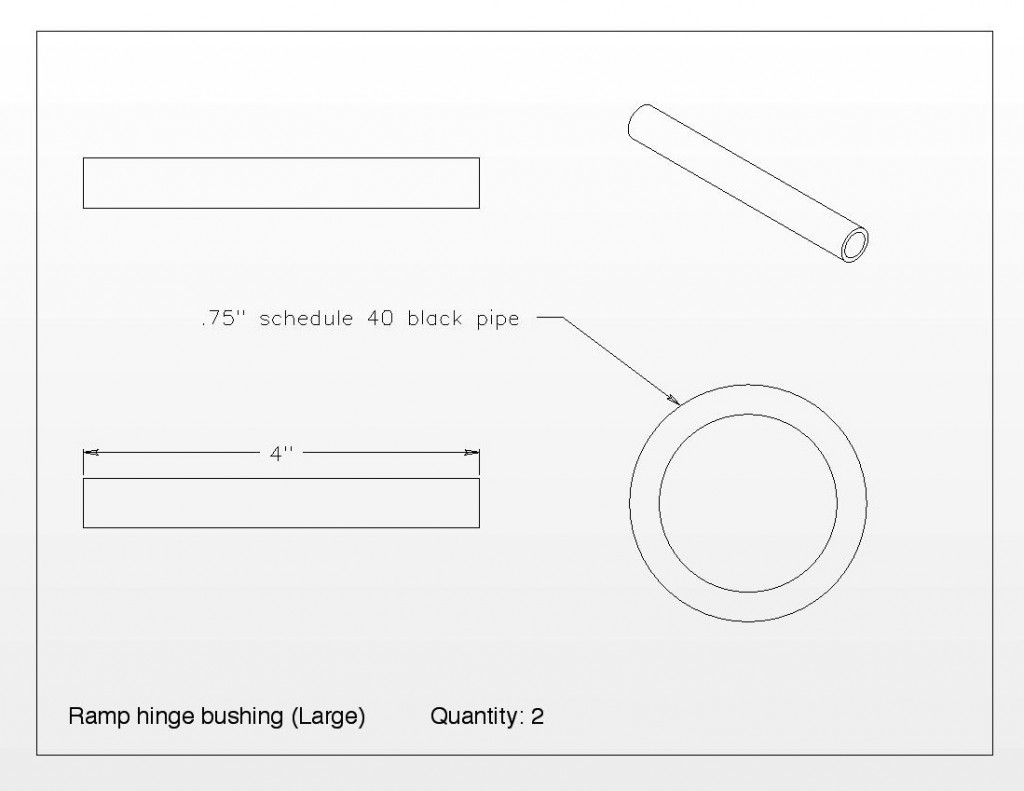
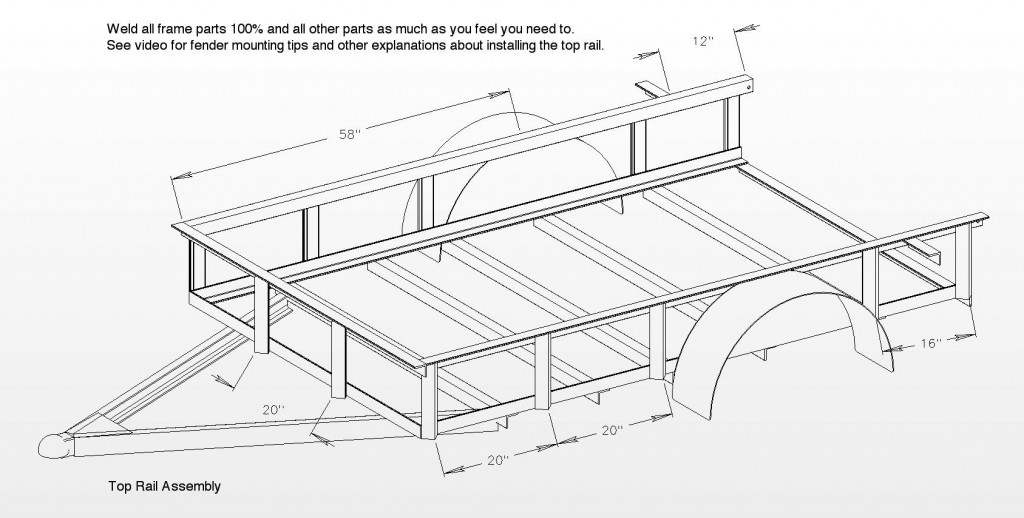
Please have a look at the sample blueprints below so you can see the detail and quality of the plans you will receive. Also see the building notes that will come with the plans.
 

Need a DVD? No problem just click here and add the DVD + shipping option to your cart.

Utility Trailer Plans Building Notes.

Here are the building notes that come with the 5′ x 8′ utility trailer plans.

5′ x8′ Standard Utility Trailer Building Notes


This is a standard utility trailer model that is currently on the market all over the United States. The price tag seems to average around $1200 – $1400. There is no doubt that you can build the same thing much cheaper and of higher quality.


The plans go hand in hand with the video. If you are not sure of what to do at a certain step, be sure to watch the video since many different viewpoints are given about building the utility trailer. I make many references to see the video on the plans. This is because it’s sometimes easier to show certain things on video than to clutter up the drawings with too many details. The plans have enough info. on them by themselves but, the video will help a beginner understand certain things better.


The building notes are put together as guidelines and are placed in no particular order of importance. I would suggest reading through them before starting the project. That will give you a better idea of the project and how it works as an end result. If you deviate from the dimensions it’s no big deal. The design works with many different sizes of trailers. You will just need to make some adjustments along the way.


You will notice on some of the 4 view drawings that some of the views are out of proportion  with the others. This is for clarity and to give you the biggest view possible for standard paper from your printer. Please note that drawings are not to scale, so don’t measure off the drawings. there is enough information about each part, to build each part. If you have any problems figuring something out, just look at another print that has that part on it or a picture view. This utility trailer was drawn with common sense in mind, it is not rocket science. If there is something really important I made a note of it on the drawing or building notes page, otherwise it is no big deal.


One thing I would like to talk about are the fenders. I have come to the conclusion that you really can’t build a good set of fenders as cheap as you can buy pre made fenders. I hate to say it because I’m the type of guy that like to build as much stuff as possible. It would also be very time consuming to try to match the better look you will get with pre made fenders. I added fenders in the plans for someone to build their own anyway. If you plan on using a different size tire, you should check to make sure it will fit under the fenders. You also want to allow for suspension travel.


Another thing you need to figure out before you start is what axle will you be using. The plans were designed for a 3500 pound axle (no brakes) with 58” spring centers. That will be the size used for the 60” wide frame dimensions. I know what your thinking, why would I need that heavy of an axle for a utility trailer? The answer is simply, the 2000 pound axles are almost just as expensive and I always tend to overbuild just about everything. I don’t know too many people that wouldn’t want a heavier duty trailer for almost the same amount of money as a lighter one. If you decide to sell it someday I’m sure the potential buyer wouldn’t mind it either. Wouldn’t it be nice  to not worry about overloading it? If you don’t like the idea of leaf springs you can also use a torsion axle for this trailer. I made some notes on the frame assembly plans for cross member locations for either axle. A good rule of thumb for axle location is: 60% of the trailer frame should be in front of the axle and 40% of the trailer frame should be behind the axle. When you order your axle be sure to get the mounting hardware for mounting the leaf springs.


Good places to get your axles would be any local trailer manufacturer, Northern Tool, Freedom Axle, Dexter Axle. Some places you might need to order it online but, I have found out that even with the shipping the prices are really competitive.


The tires the trailer was designed around are 205/75-R15. This is a really common tire size for that type of axle. 205/75-D14 tires will work fine also and be slightly smaller and cheaper. Just be sure they will fit on the hubs that come with your axle. The hub bolt pattern that I used was called: 5 bolt x 4.5”.


The tail light brackets should be able to accommodate most kinds of tail lights you would use for this type of trailer. The wiring diagram I included with the plans shows that 3 marker lights are needed on any trailer longer than 80″. I don’t really think that is true as a general statement. You might want to check with your local trailer regulations to be sure. The same goes for the side marker lights. I think these rules apply more for a company selling trailers rather than building one for personal use.


The trailer deck can be plywood, lumber, steel, or expanded metal (mesh). The sides can be the same or left open. The same goes for the ramp.


The welds that secure the tongue to the trailer frame are what I would consider to be critical welds. Please make sure you are up to the task, since I might be following you on the highway someday.


Use the proper trailer coupler to make sure you have enough capacity for the loads you will be hauling. A standard 2” coupler with a 50 degree A-frame should be fine.  Be sure to mount it according to the coupler manufacturers instructions.


Safety chains are a good idea and may even be the law in your state. Be sure to check the regulations for where you live. Just mount them to the tongue hitch right behind the coupler. You can bolt them or weld them.


If you decide to make the ramp a little heavier, you will need to make adjustments to your material list as well as your cut list.


By using these plans to build your trailer you assume responsibility to follow all trailer rules and regulations for your area. These plans are only guidelines for the construction of the trailer and are not meant to cover all the possible rules and regulations that need to be followed.